Setting up a headless Raspberry Pi Zero (W) with Camera
I received my Raspberry Pi Zero W a couple of weeks ago and finally had the chance to set it up. My goal is to to setup some cameras in my basement and garage.

Prerequisites
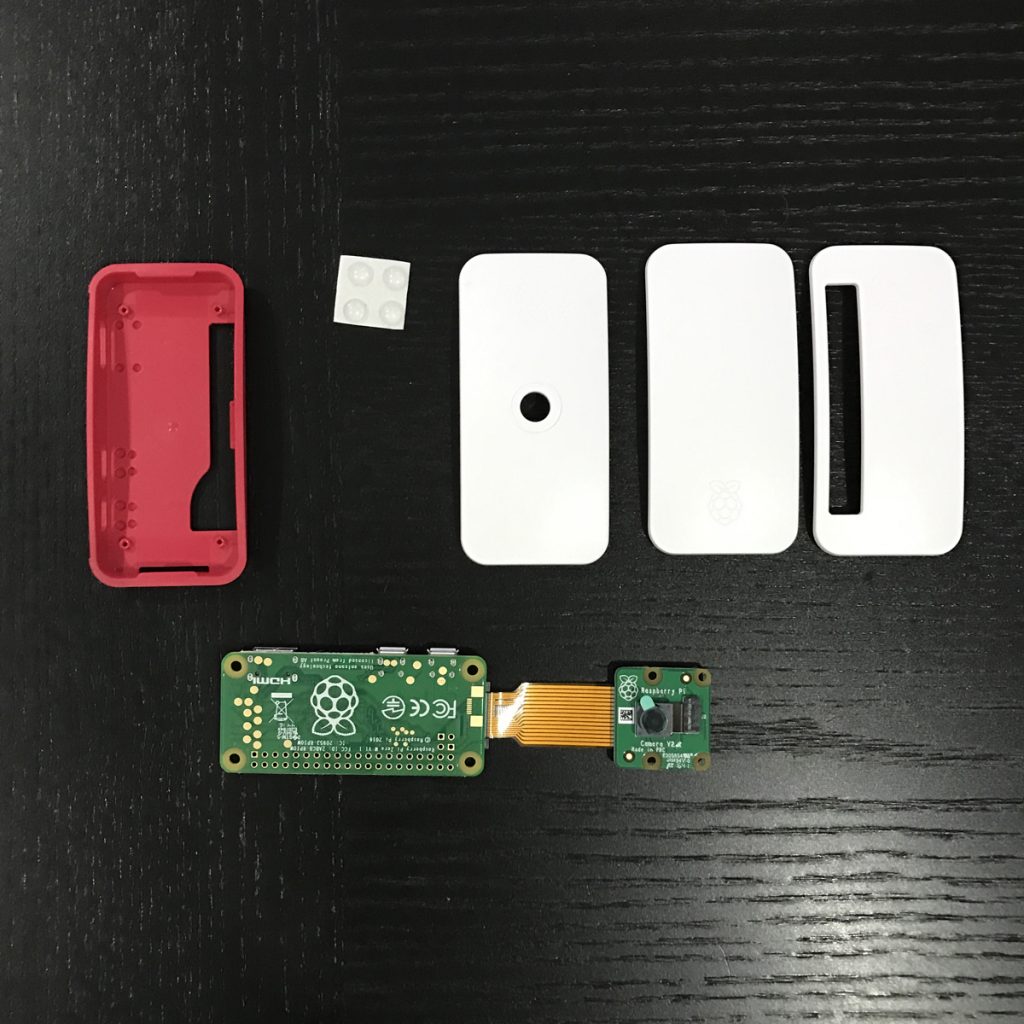
Here are links to the products and prices I purchased on Amazon and CanaKit at the time. The prices might vary slightly if you purchase them.
- Pi Zero Wireless Starter Kit – $34.95
- Raspberry Pi Camera Module V2 – 8 Megapixel – $24.40
Bringing the total cost of this setup to: $69.35 (including shipping). If you’re looking for something with more features, you can purchase indoor wireless IP camera’s online. Some of them even have 2-way audio which I use to keep tabs on my dogs and general security. For my purposes, and where they’ll be placed, I don’t need that type of functionality. Also, you get the reward of building something yourself with greater control.
Setup
I decided to use the Raspbian Jessie Lite distribution for my setup since it’s a smaller SD card and there won’t be any GUI. You can download it here from the Raspberry Pi website by selecting “Download ZIP”. Alright, here we go:
- Connect the SD card to your computer. Note that it must be formatted as FAT32. The one I purchased above was already formatted in FAT32.
- Open “Disk Utility”. To do this, click on the magnifying glass in the top-right corner of your computer screen. Type “disk utility” in the search box that opens, then click on the “Disk Utility” Application that comes up and click on “APPLE SD Card Reader Media”.

- Note the “Device:”; it will look something like disk(n) where (n) is a number (for example, disk1). Make sure you take a note of this number. Mine was disk1.
- Now, right click on “NO NAME” or “Untitled” on the left and select “Unmount” from the menu. This will unmount the partition so that you can write to the disk.
- Now open terminal and run the following command:
1sudo dd bs=1m if=(PATH_OF_THE_IMAGE_YOU_DOWNLOADED.img) of=/dev/rdisk(n)
Remember to replace (n) with the number that you noted before and (PATH_OF_THE_IMAGE_YOU_DOWNLOADED.img) to the path of the Raspbian Jessie Lite image you downloaded. for example: my command was:
1sudo dd bs=1m if=2017-03-02-raspbian-jessie-lite.img of=/dev/rdisk1The image file will be copied to the SD Card. You won’t get any feedback while it copies, and it can take several minutes. Leave terminal open and let it do its thing.
Headless setup on the Raspberry Pi Zero (W)
Once it’s completed,
- Open the boot volume on your Mac (should auto mount after the disk image is finished writing).
- Create an ssh file to tell the Pi to enable SSH when it boots up by default:
1touch /Volumes/boot/ssh
- Next, create a wpa_supplicant.conf file in the boot volume to tell the Pi to connect to your WiFi network on boot:
1nano /Volumes/boot/wpa_supplicant.conf
- Insert the contents below into this new file:
12345network={ssid="YOUR_SSID"psk="YOUR_PASSWORD"key_mgmt=WPA-PSK}
- Eject the SD Card and insert it into your Raspberry Pi.
Connecting the Camera to the Pi
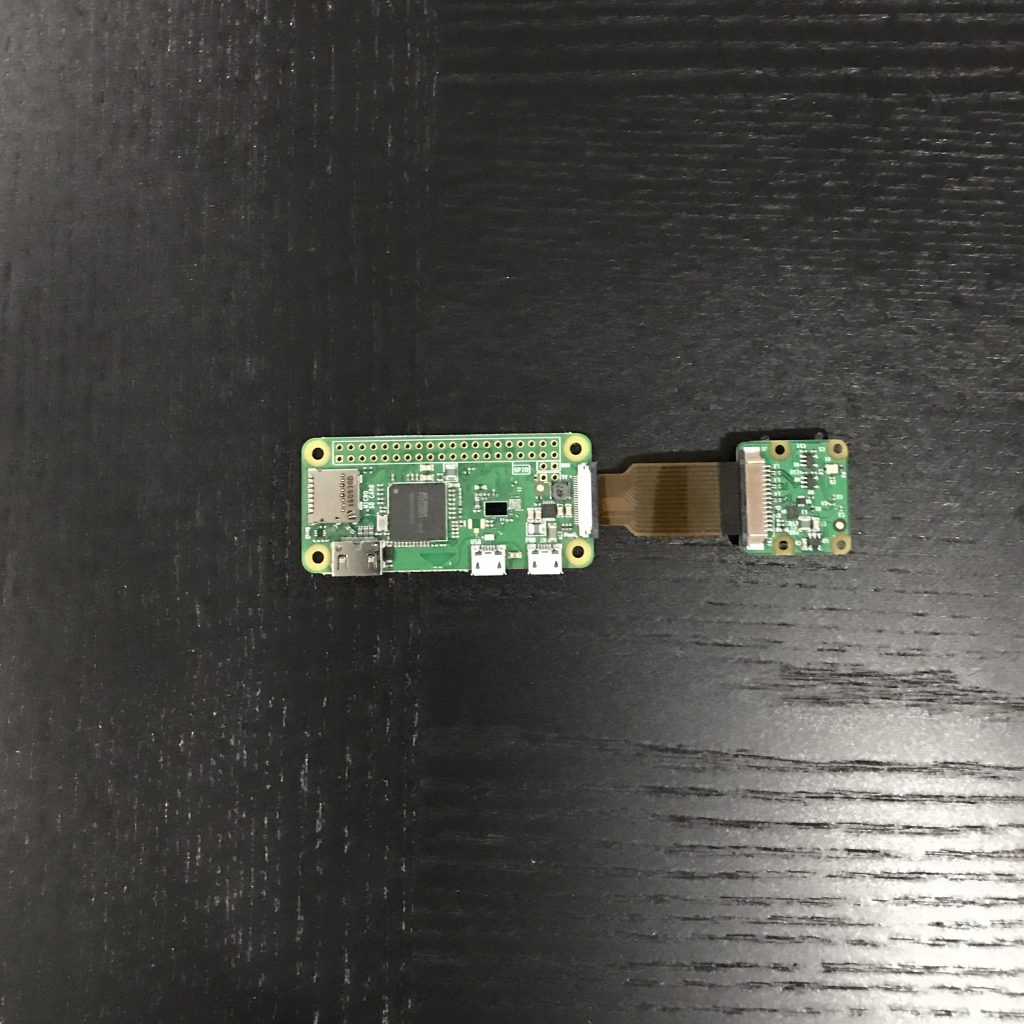
Connecting the camera to the pi is fairly easy. Use the supplied mini cable provided with the camera case.

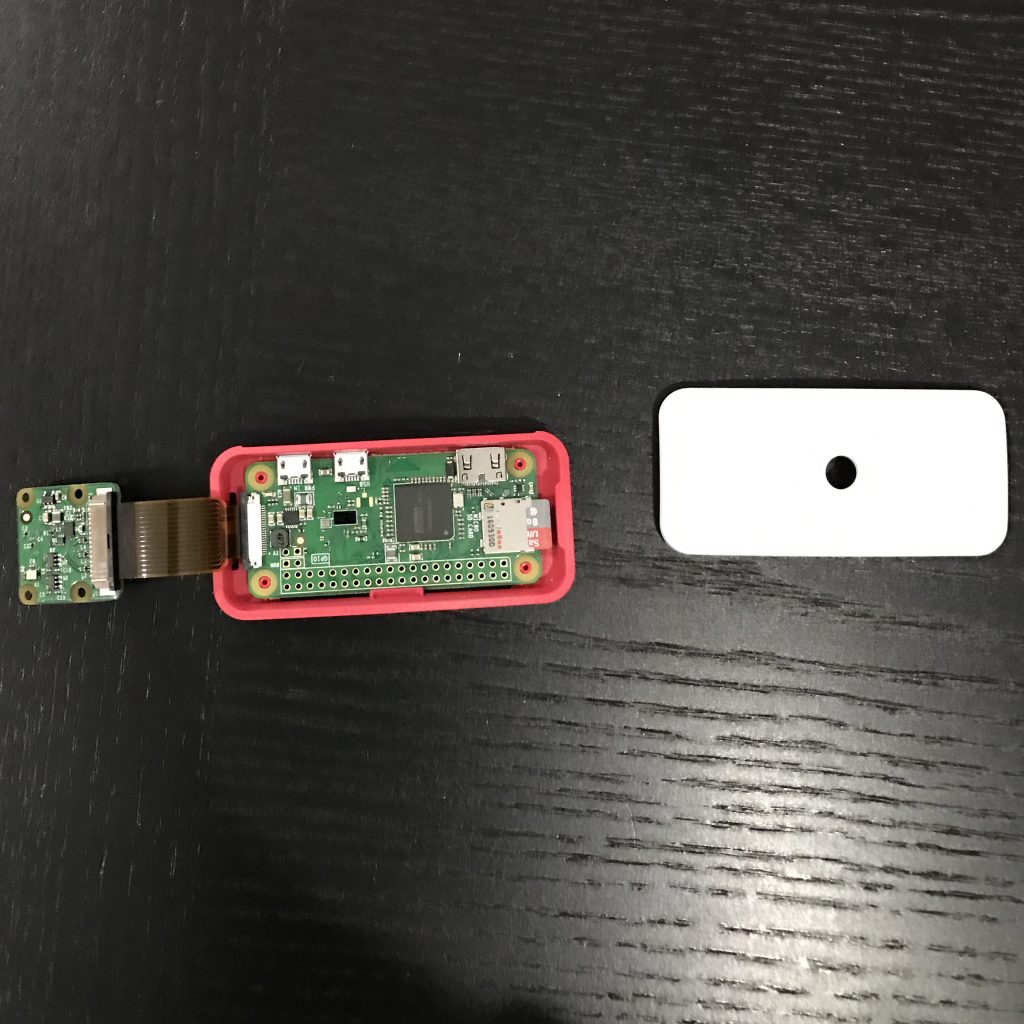
Insert the Pi into the case

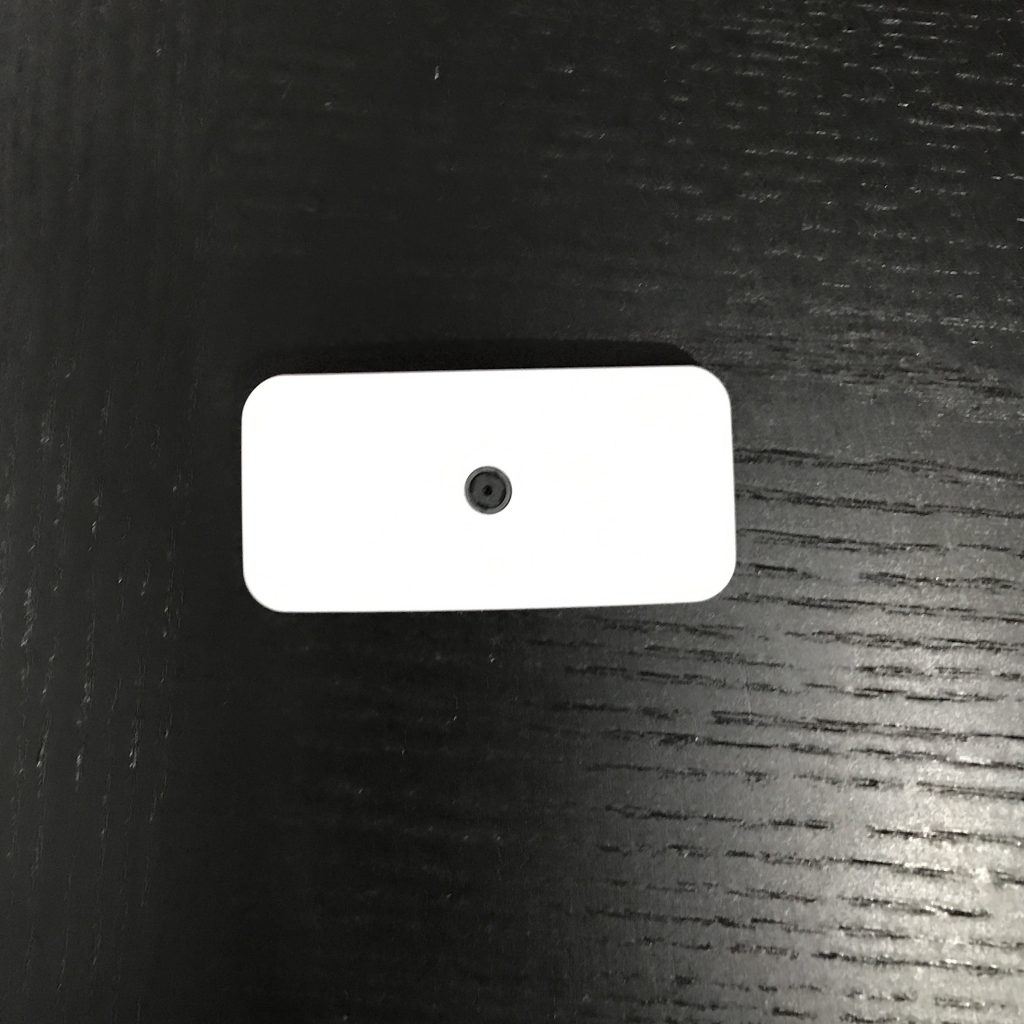
Finished Product

Booting Raspbian Jessie Lite
Ok, now it’s time to insert the power cord and boot up the Pi. For this step, you’re going to find the IP Address of your Pi to SSH into it. Most routers have a network map that displays connected devices. I was easily able to find mine. If you can’t find yours, try using a tool like nmap.
- SSH into your Pi:
1ssh pi@YOUR_IP_ADDRESS
- Once, you’ve logged in, update the OS:
1234sudo apt-get updatesudo apt-get upgrade -ysudo apt-get install -y wgetsudo apt-get dist-upgrade
- Now we’re going to configure the OS using the raspi-config tool.
1sudo raspi-config
Below are the options I configured for my Pi:
1. Set a new password.
2. Set a hostname (e.g. kitchen-camera).
4. I configured “Localisation Options” for my locale
5. For ‘Interfacing Options’, select ‘P1 Camera’, then choose ‘Yes’ to enable the camera interface. - Test it out by running:
1raspistill -o photo.jpg
Installing software for the camera
There are a couple of software options for using your Pi as a security camera. I opted for Motion. Adafruit has an excellent tutorial for setting it up with Dropbox. Follow that tutorial and become familiar with the Motion config options.


An excellent write-up Richard. Did everything go well from the start or any teething problems?
I got my Pi Zero W with a v2.1 camera on a short ribbon connector this week. I’ve run apt-get update and upgrade and believe I’ve been careful about static and ribbon cable positioning but the camera isn’t being detected. This might be nothing you can help me with but just in case I’ve done the following tests…
Thanks in advance,
David
I had problems with your wpa_supplicant.conf
Instead, i used this template that works for my network
Nice to the point tutorial.